|
Search HansaManuals.com HansaManuals Home >> Standard ERP >> Rental >> Rental Quotation Register Previous Next Entire Chapter in Printable Form Search This text refers to program version 8.5 Entering a Rental Quotation This page describes adding a new record to the Rental Quotation register in the Rental module.--- To create a Rental Quotation, first open the 'Rental Quotations: Browse' window as described here and select 'New' from the Create menu (Windows/macOS) or the + menu (iOS/Android). You can also use the Ctrl-N (Windows) or ⌘-N (macOS) keyboard shortcut. Alternatively, highlight a Rental Quotation similar to the one you want to enter and select 'Duplicate' from the same menu. If you don't want to open the 'Rental Quotations: Browse' window before creating a new record, you can also use the + menu in the Navigation Centre (all platforms). The Rental Quotation window will open:
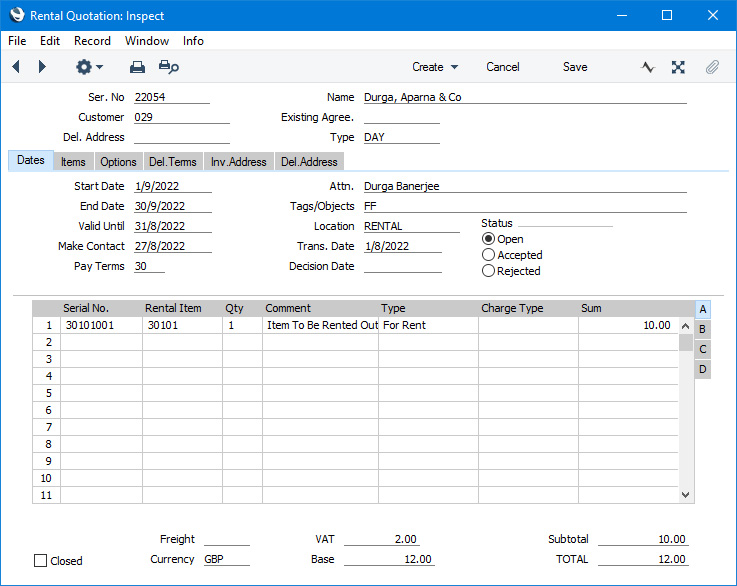
If you are using iOS or Android, there will only be two tabs, marked 'Items' and 'Details'. If you tap 'Details', you will see every card except 'Items' arranged vertically on screen. You can scroll down to see each one, or you can jump to any card by tapping on any tab and selecting the tab you want to go to. Complete the Rental Quotation record as appropriate and as described on the following pages, then save it using the [Save] button (Windows/macOS) or by tapping √ (iOS/Android) and close the window by clicking the close box (Windows/macOS) or by tapping < (iOS/Android). Then, close the browse window using the close box or < again. Please refer to the following pages for details about the fields on each card:
The Rental Quotation register in Standard ERP:
|