|
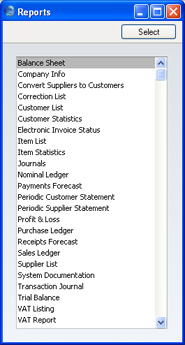
Search HansaManuals.com HansaWorld FirstOffice Start >> Rapporter Föregående Nästa Detta avser program version 4.3 Introduction To print a report in FirstOffice, select 'Reports' from the File menu or click the [Reports] button in the Master Control panel. You can also use the Ctrl-R (Windows) or ⌘-R (Macintosh) Keyboard shortcut.
It is often possible to report on a selection range, such as a range of Customers, or a range of Items. To do this, enter the lowest and highest values of the range, separated by a colon (:). For example, to report on Customers 001 to 010, enter "001:010" in the Customer field. Depending on the field, the sort used might be alpha or numeric. In the case of an alpha sort, a range of 1:2 would also include 100, 10109, etc. Similarly, wherever a report period is required, enter the start and end dates, again separated by a colon (e.g. 01/01/2005:31/01/2005). Use the Media options at the bottom of the specification window to determine the print destination of the report. The default is to print to screen. You can initially print to screen and subsequently send the report to a printer by clicking the Printer icon at the top of the report window. You can also print the report to disk as a text file. This will be useful if you want to format the report in your house style before printing. When you have specified what is to be included in the report, click [Run] to print the report. Föregående Nästa Start |