Entering a Person Record
To open the Person register, first ensure you are in the System module. Then, if you are using Windows or macOS, click the [Registers] button in the Navigation Centre and double-click 'Persons' in the resulting list. If you are using iOS or Android, tap the [Registers] button in the Navigation Centre and then tap 'Persons' in the 'Registers' list.
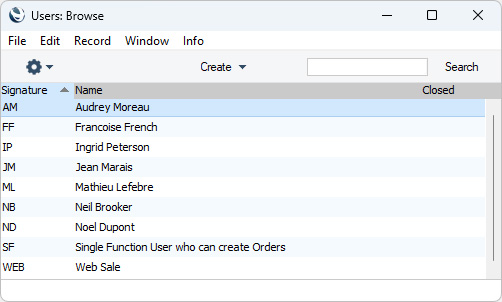
The 'Persons: Browse' window will be opened, listing Persons that you have already entered.
From here, you can create Person records using two methods:
- Choose 'Named User' from the Create menu (Windows/macOS) or + menu (iOS/Android). This method will create a Named User with Mailbox and connected record in the Contact register. Please refer here for details about this method.
- Select 'New' from the Create menu of + menu (or use the Ctrl-N (Windows) or ⌘-N (MacOS) keyboard shortcuts). Alternatively, highlight a Person similar to the one you want to enter and select 'Duplicate' from the same menu. You will be able to choose whether the new record will be a Named or Concurrent User. If it will be a Named User, you will need to create their Mailbox and, if necessary, their connected record in the Contact register yourself.
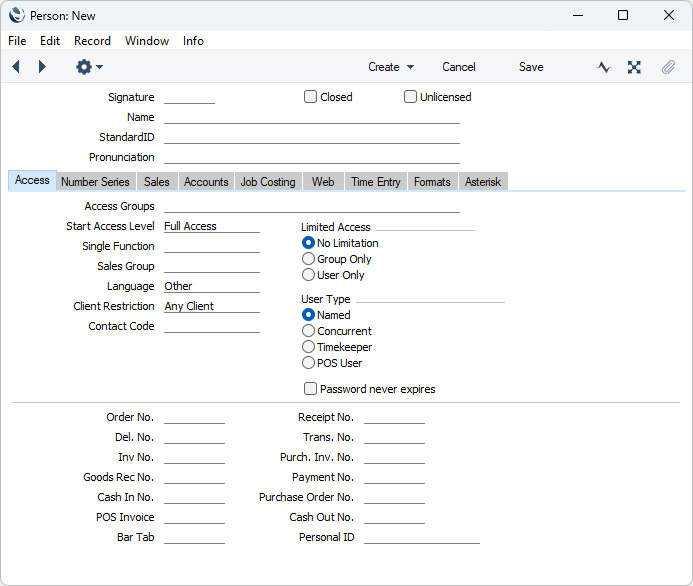
If you use the 'New' or 'Duplicate' functions as described for the second method above, the 'Person: New' window will be opened, empty if you selected 'New' or containing a duplicate of the highlighted Person.
When the Person record is complete, save it using the [Save] button(Windows/macOS) or by tapping √ (iOS/Android) and close the window by clicking the close box or by tapping <. Remember to give the Person a
password and, in the case of a Named User, to create a
Mailbox for them, using the functions on the Operations and Create menus.
Since the amount of information stored about each Person will not fit on a single screen, the Person window has been divided into nine cards. At the top of each is the header. This contains the Person's Signature, Name and StandardID. There are nine named buttons ('tabs') in the header.

By clicking the tabs you can navigate between the cards, and always go directly to a certain card. The header is always visible, so you can always see which Person you are working with.
If you are using iOS or Android, the cards will be arranged vertically on screen. You can scroll down to see each one, or you can jump to any card by tapping on any tab and selecting the tab you want to go to.
Please refer to the following pages for details about each card:
---
The Person register in Standard ERP:
Go back to: