|
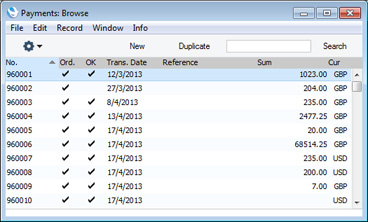
Search HansaManuals.com HansaManuals Home >> Standard ERP >> Purchase Ledger >> Payment Register Previous Next Entire Chapter in Printable Form Search This text refers to program version 7.2 Entering a Payment Before you start entering Payments, you must ensure you have defined the current financial (accounting) year, using the Fiscal Years setting in the Nominal Ledger. You should also have defined a journal number series for Payments using the Number Series - Payments setting. You can adjust other settings as you go along.To open the Payment register, first ensure you are in the Purchase Ledger or Cash Book module and click the [Payments] button in the Master Control panel. The 'Payments: Browse' window will be opened, listing the Payments that you have already entered.
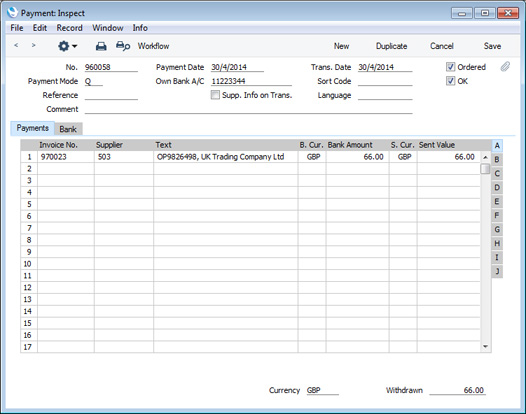
To enter a new Payment, click [New] in the Button Bar or use the Ctrl-N (Windows and Linux) or ⌘-N (Mac OS X) keyboard shortcut. Alternatively, highlight a Payment similar to the one you want to enter and click [Duplicate] in the Button Bar. The 'Payment: New' window will be opened, empty if you clicked [New] or containing a duplicate of the highlighted Payment. The principle for entering a Payment is that you know the following facts:
Complete the Payment record as appropriate and as described on the following pages, then save it using the [Save] button and close the window by clicking the close box. Then, close the browse window using the close box again. Enterprise by HansaWorld contains several shortcuts that you can use to help simplify your work entering Payments. You can for example bring a date into a date field using the 'Paste Special' function (Windows and Linux users should press Ctrl-Enter, Mac OS X users ⌘-Enter). You can also use this function to help choose the Purchase Invoices or Suppliers you are paying, or the Payment Mode (i.e. payment method) you want to use, etc.
--- In this chapter:
|