Pictures
You can attach pictures to records in the Person and Item registers. Follow these steps:
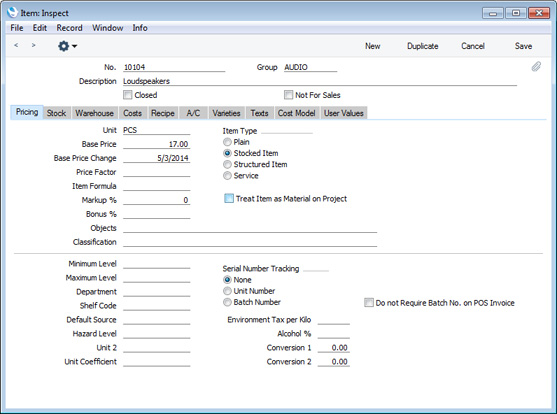
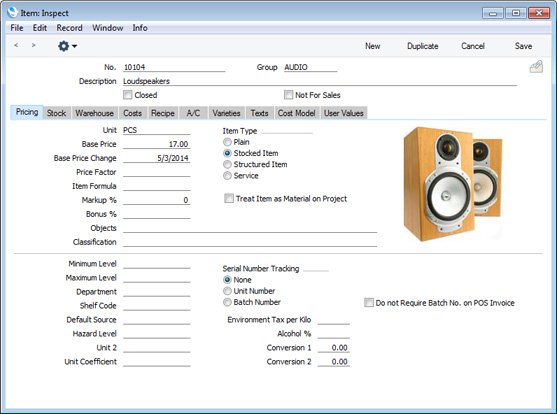
- Open the record in question. The record must already have been saved at least once (i.e. the window title must be 'Inspect' or 'Update').
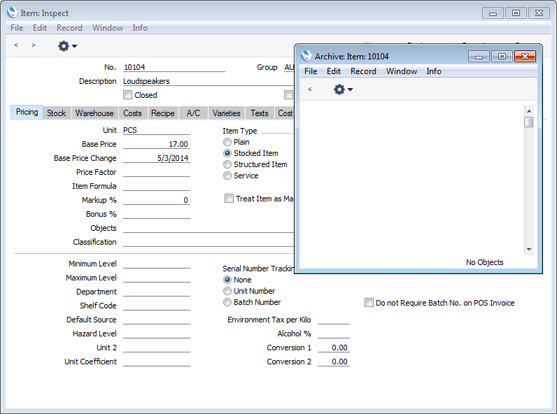
- Click the [Attachments] button (with the paper clip icon) or select 'Attachments' from the Record menu. A list of objects currently attached to the record is opened.
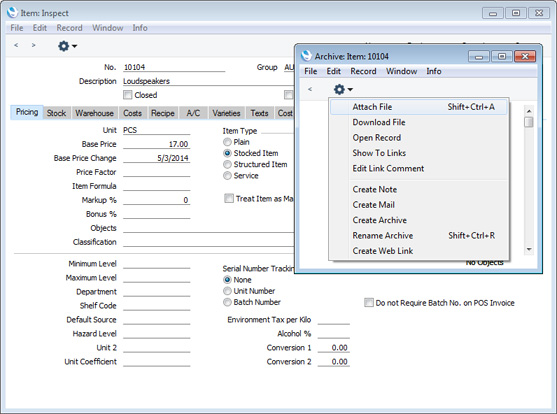
- Choose 'Attach File' from the Operations menu of this list.
- Locate the picture file on your hard disk and click [Open]. The picture will be attached to the record. It must be a .jpg file. The maximum picture size is 280 x 280 pixels: larger pictures will be cropped.
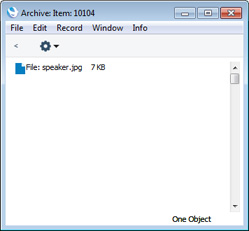
- After the picture file has uploaded, you may need to close and reopen the record to see the picture:
You can design your Invoice Form so that Invoices will be printed including the pictures that you have attached to your Item records. Designing Forms is described
here.
In the Mac OS X version of Enterprise by HansaWorld, you can attach pictures to Person and Item records as described above, but you can also use the [Add picture] button underneath the picture field:
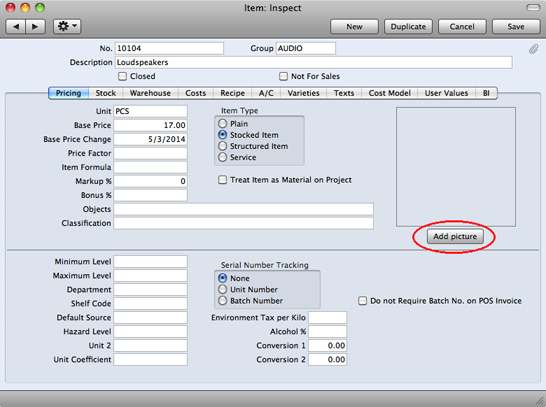
When you click this button, the 'Buddy Picture' window opens:
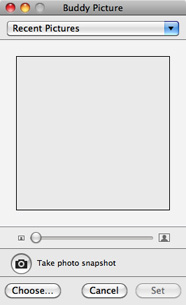
If the picture is already on your hard disk, click the [Choose] button to locate it. Alternatively, click the button with the camera icon marked 'Take a video snapshot' to take a photograph of the Item using your computer's camera.
In both cases you can then scale the picture using the slider and, if the picture is too big, move the picture by dragging so that the part you need is in the centre of the frame (the part outside the frame will be cropped).
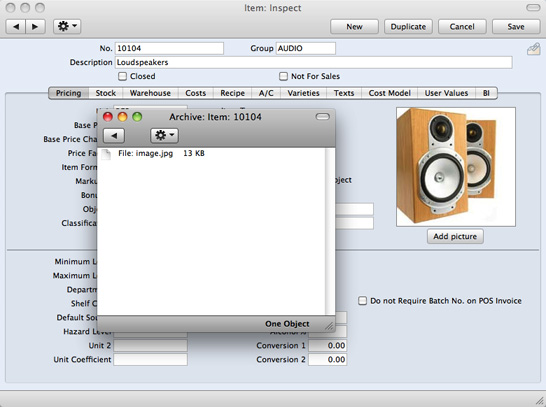
Finally, click the [Set] button to add the picture to the Item. After uploading, the picture will appear in the list of attachments, with the name "image.jpg":
When you use 'Paste Special' to add Items to records such as Quotations, Orders and Invoices, one variant of the 'Paste Item' window will display the Item pictures to help you choose the correct one. This window (illustrated below) uses Apple's "Cover Flow" technology as well as including the standard 'Paste Special' features described
here.
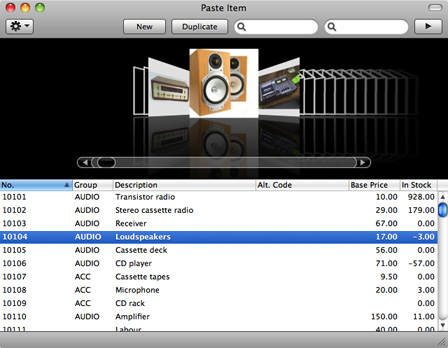
If you wish to use this variant of the 'Paste Item' window, choose 'System Default' as the Item Paste Special option in the Local Machine setting in the User Settings module. If you are not using Mac OS X, the System Default option will cause the standard 'Paste Item' window to be used.
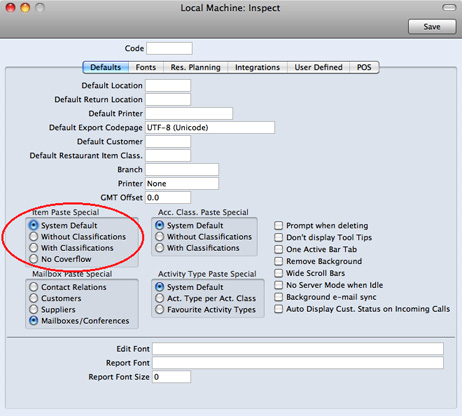
In a multi-user system, the options in the Local Machine setting are specific to each client machine, allowing different options to be used on different clients.
---
In this chapter:
See also:
Go back to: