Printing Mail
To print a Mail, open it and click the Printer icon in the Button Bar or select 'Print' from the File menu.
The Form used is determined as follows:
- Using the Form register in the System module, design the mail document and name it "MAIL". Use the 'Properties' function on the Operations menu to assign a Document Type of "Mail Form". A sample Form is supplied with Hansa: this can be modified to suit your requirements.
To include fields, click the [Fields] button and then draw a box on the Form where the field is to appear. It can be moved or resized later if necessary. The 'Field' window opens. In the case of the field representing the Mail text itself and that representing the addressees, since they are likely to extend over more than one line, it is necessary to make an entry in the Spacing field. If this is left at 0 (the default), all the lines of text will be superimposed on one another. If the Style is 10 point Times, a Spacing of at least 10 points is recommended.
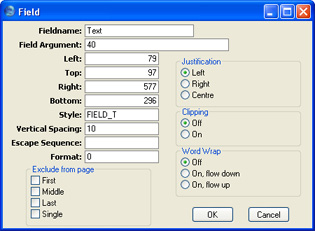
You should also enter as the Field Argument the maximum number of characters that can be printed in one line. In the example illustration, it has been specified that up to 40 characters can be printed per line (fewer if the 40th character occurs in the middle of a word).
- Remaining in the System module, select 'Documents' from the File menu. The 'Documents' list window is opened: highlight 'Mail'.
- Select 'Define Document' from the Operations menu.
- In the subsequent window, enter "MAIL" in the Form field of the first line (you can use 'Paste Special' to ensure the spelling is correct).
- Click [Save] to save the Mail Form definition. From now on, the mail form that you have designed will be used whenever a Mail is printed.